Before we dive into the exciting world of Flutter, let’s decide where to begin. With so many options out there, it’s important to pick the right platform. In the case of Flutter, we have two solid choices: VS Code and Android Studio.
In this guide, we’ll focus on getting started with Flutter in VS Code, a simple and efficient way to kick off your Flutter journey.
Visual Studio Code
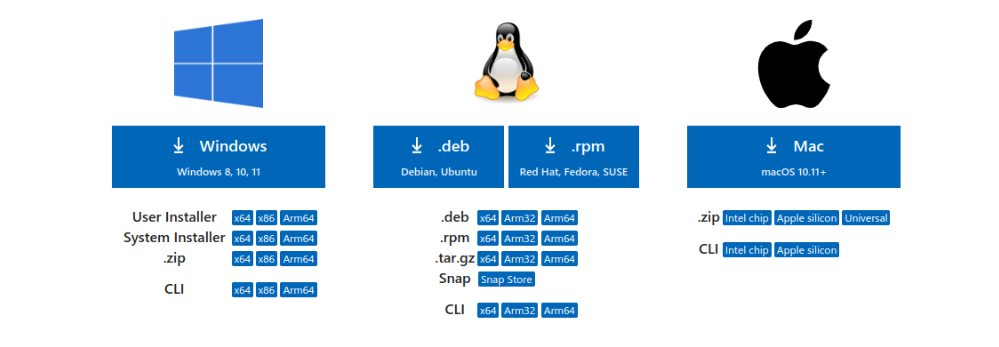
But before we jump into Flutter, let’s ensure we have the latest version of Visual Studio Code installed. Visual Studio Code, also known as VS Code, is like a trusty toolbox for developers. It’s a lightweight code editor that supports a wide range of programming languages. With features like code highlighting, auto-completion, debugging tools, and customizable extensions, VS Code is a developer’s best friend.
You can grab your own copy of Visual Studio Code from the official website.

Note: You can download Visual Studio Code here.
Flutter: Making the Connection
Once you’ve got Visual Studio Code up and running, the next step is to get your hands on Flutter.
Note: You can download Flutter here.
Setting Flutter in VS Code
With all the necessary downloads completed, let’s take a closer look at how to use Flutter within the VS Code environment. We’ll break down the process into easy-to-follow steps.
Step 1: Setting Up Flutter and Dart
To begin, open Visual Studio Code. Then, follow these steps:
- Click on “View” in the menu.
- Select “Command Palette…”
- In the pop-up box, type “install” and choose “Extensions: Install Extensions.”
- In the new search box, type “flutter” and select “Flutter” from the results. Click “Install” to add both Flutter and the essential Dart plugin to VS Code.

Step 2: Flutter Health Check
Now, let’s make sure Flutter is in good shape:
- Open the Command Palette in VS Code (remember, it’s like a secret code box).
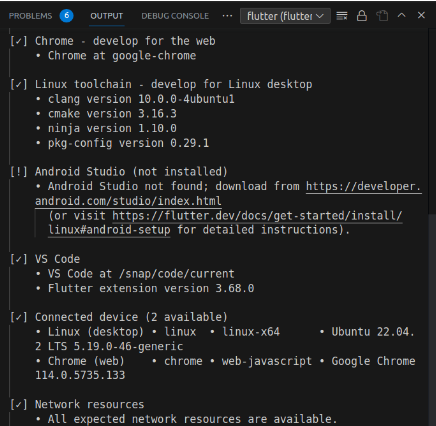
- Type “doctor” and select “Flutter: Run Flutter Doctor.”
- Examine the results that appear. No issues? Fantastic!

flutter doctor commandNote: Flutter Doctor is a handy tool that ensures your Flutter setup is working smoothly on your computer.
Ready for Flutter Adventures!
Congratulations! You’re now equipped to explore the world of Flutter and start building incredible apps using VS Code. Just follow the steps outlined above, and you’ll be well on your way to becoming a Flutter pro. Happy coding!


