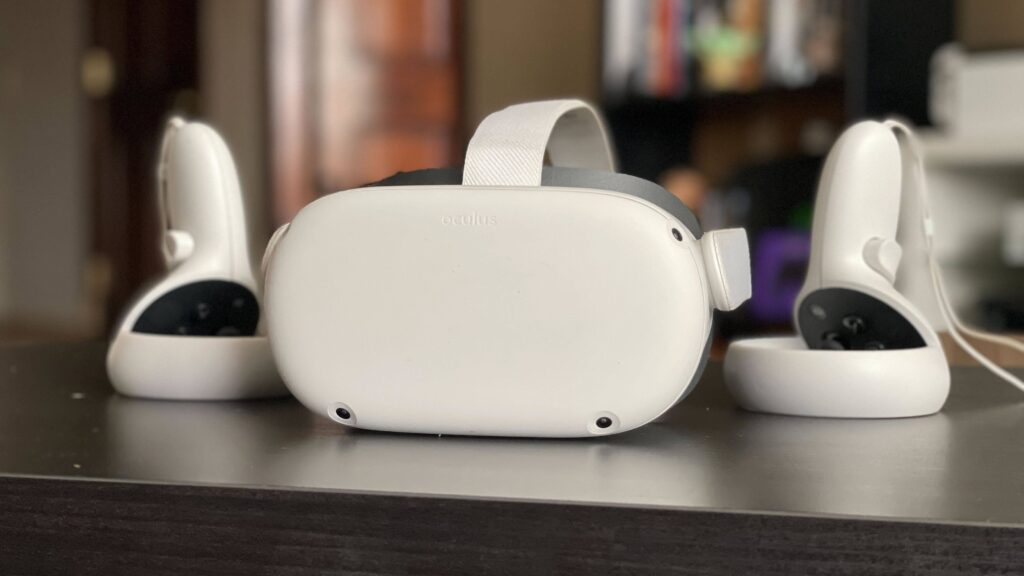
I just got a brand new Meta Quest 3 and am puzzled about how to set it up. Our comprehensive guide will tell you how to get yourself set up in just minutes.
Configuring Meta Quest 3 is a somewhat simple process. However, using a VR headset for the first time might be a little intimidating. So, when your headset arrives, we’ll provide you with all the information you need to set it up.
Two controllers and the headset itself are what you’ll find when you open the Meta Quest 3 package. You should set up a few things on your phone first, though.
1. Set up your Meta account
First, you need to use iOS or Android to download the Meta Quest app from the store. From here, you may create a Meta account using a new login or your current Facebook and Instagram login. The Meta Quest 3 itself will accept this for content purchases and access.
The software will then prompt you to “Pair a new device” when you log in.
2. Pairing Quest 3 to your account
You now want to switch on Meta Quest 3. To do this, take the headset out of the packaging and locate the USB-C port on the left side of the device. This will have the crucial power button underneath it.
Take off the film covering each lens and all of the cardboard that is holding everything in place. After that, don the Quest 3 headset. To ensure that the headset stays in place while being worn, you can widen the straps at the rear. Make sure the fit is comfortable.
After securing the headset, you may remove the plastic tabs that are attached to each controller by picking them up.

3. Run initial setup on your headset
After pairing the two controllers, you ought to be able to navigate the Quest 3 headset’s setup menu, adjusting things like the operating language and headgear alignment, among other things. To guarantee the ideal fit, make sure it doesn’t sway as you glance left and right.
Just make sure the headset is not so uncomfortable that it prevents you from using it or gives you a headache. The interpupillary distance, or IPD, of the lens may then be adjusted using the notch located at the bottom left of the headset. This is to guarantee that the information and language are shown crisply. You should simply turn it down till you reach a comfortable level, as there is no science involved in making it perfect for everyone.
Remember the smartphone app we previously set up? Remove your headphones and get your smartphone. The pairing screen should be accessible through a widget at the top of the screen if you are on the app’s home screen. Then choose “Meta Quest 3” from the device you want to couple. Next, choose a QR code and input your WiFi password.
After that, replace your headset and let the gadget to scan your QR code. Following that, it will be paired and linked to WiFi. The software update installation will start. Remove your headset, place it on a USB-C cable charger, and go back to the mobile application.
3. Create your Meta Avatar
Your Meta avatar is a little, cartoon-like character creation that stands in for you. You may now portray yourself in virtual environments thanks to this. It’s not that complicated. You shouldn’t be concerned if your headset or controllers buzz here.
4. Pairing your Meta Quest 3 headset
Your payment information will thereafter be requested by the app; it will only be used for further transactions. After that, the headset will be associated with your Meta account. This is a quick procedure that often takes a minute or so.
You will then need to accept the headset’s health and safety warnings. Just be careful to read everything, particularly if you want to use the headset for a household teen. Just keep in mind that kids 13 and above can utilise the Meta Quest 3. You might want to think twice before allowing them to wear a VR headset if they are younger than this.
5. Create a boundary
Reinstalling your headset will ask you to put up a boundary. Simply glance about the place you are in to do this; the headset will take care of the rest. A border can also be manually drawn by you.
It should be mentioned that if you want to avoid using a controller, you can squeeze your finger and thumb to make a choice if hand and body tracking is enabled.
You will be set up and prepared to use the Meta Quest 3 after the boundary has been formed.


